Exercise 1 - Basic Shapes
Having read this exercise, I struggled to come up with a satisfactory way of demonstrating on paper what the task was demanding. But as I’ve been doing lots and lots of figure drawing, I thought I’d take this opportunity to outline some of the things I’ve learnt whilst doing so.

For me the human form is one of the most complicated things you can attempt to draw. Not only are the physical structures demanding, but as humans we have our entire life’s experience of looking at it. Even someone with zero interest in art can look at a drawing of the human form and see if something isn’t right. We as artists have to understand this challenge and attempt to drawing the figure in such a way as to allow the viewer to look past the pencil strokes and see a person.
From doing numerous life classes, trial and error, and some further reading I have now worked out a system for capturing the body as accurately as I can. Firstly, before beginning a work I’ve found it valuable to do a few gesture drawings. Simple line sketches that help inform the drawing to come. How does the body flow? Where is the longest axis? These sketches can then be simply fleshed out using simple shapes to help demonstrate here is the weight distributed. As well as an idea of where all the major structure are located.


I’ve found through doing short pose life classes that all my most successful drawing start like this. Capturing the essence of the pose and ignoring the details. Once I’m happy I have a good understanding of what I’m depicting, I can then move on and try to be more accurate. Accuracy comes from one thing, really detailed observation backed by accurate measurements. When it comes to measuring, I tend to use one of two systems, sight-size or relative measurement. If the subject or reference image are the same size as the drawing I wish to produce, I’ll use the sight-size method. Using a pencil at arm’s length for a live model or a small bamboo stick for a photographic reference. I can transfer the sizes as small marks to my paper. I can then fill in the anatomy with the correct sizes, proportions and relationships, while continually referencing my gesture drawings. If the reference isn’t the same size as the drawing, I wish to produce I’ll use a relative measurement technique. The process is identical to the previous method but I will utilise a proportional divider to help me scale up or down the image.

Some other things I’ve learned/noticed over the last few months.
1. I draw figures better standing up. Gestures are freer; marks are more interesting. I tend to step back more often to view the work as a whole.
2. I’ve changed the way I hold my pencil when drawing. I now grip the pencil in an overhand grip and don’t adopt a tripod hold until I need to make tiny accurate marks. This has allowed me to make longer smoother gestures, that come from a whole arm and shoulder moving not just the wrist.
3. The value of repeating the same drawing over and over. Like any great movie, book or painting you learn more with each viewing. So it is with making a drawing, you learn something new with each attempt. Adding information to the list of artistic ingredients I’m continually building in my head.
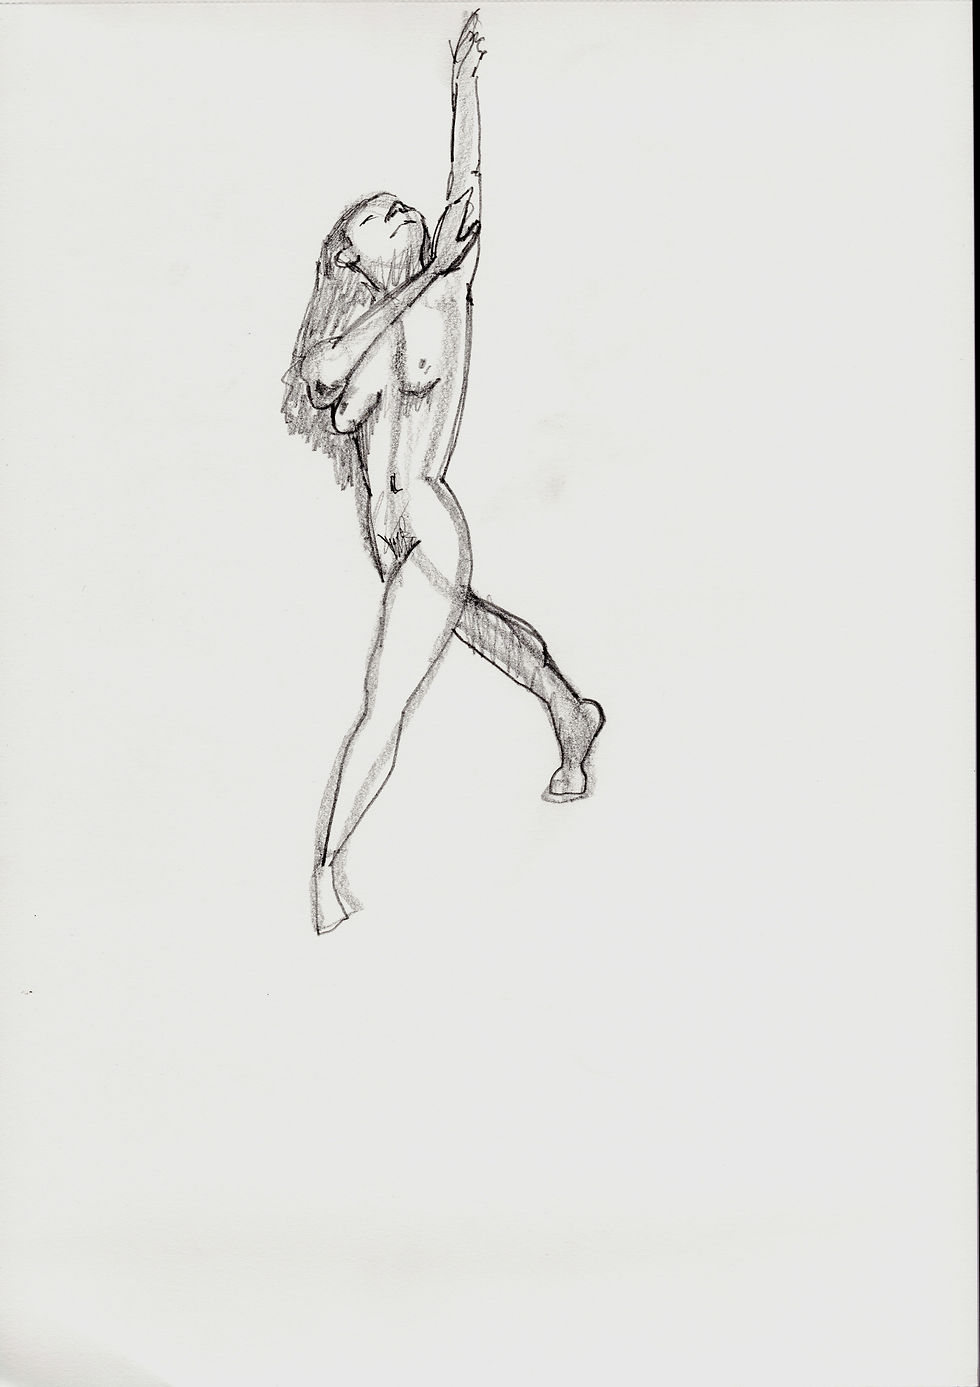
Exercise 2 – Essential elements
For this exercise, I selected two sets of reference photos, one female and one male. I printed each photo out so I wasn’t working from a screen and set up a timer.
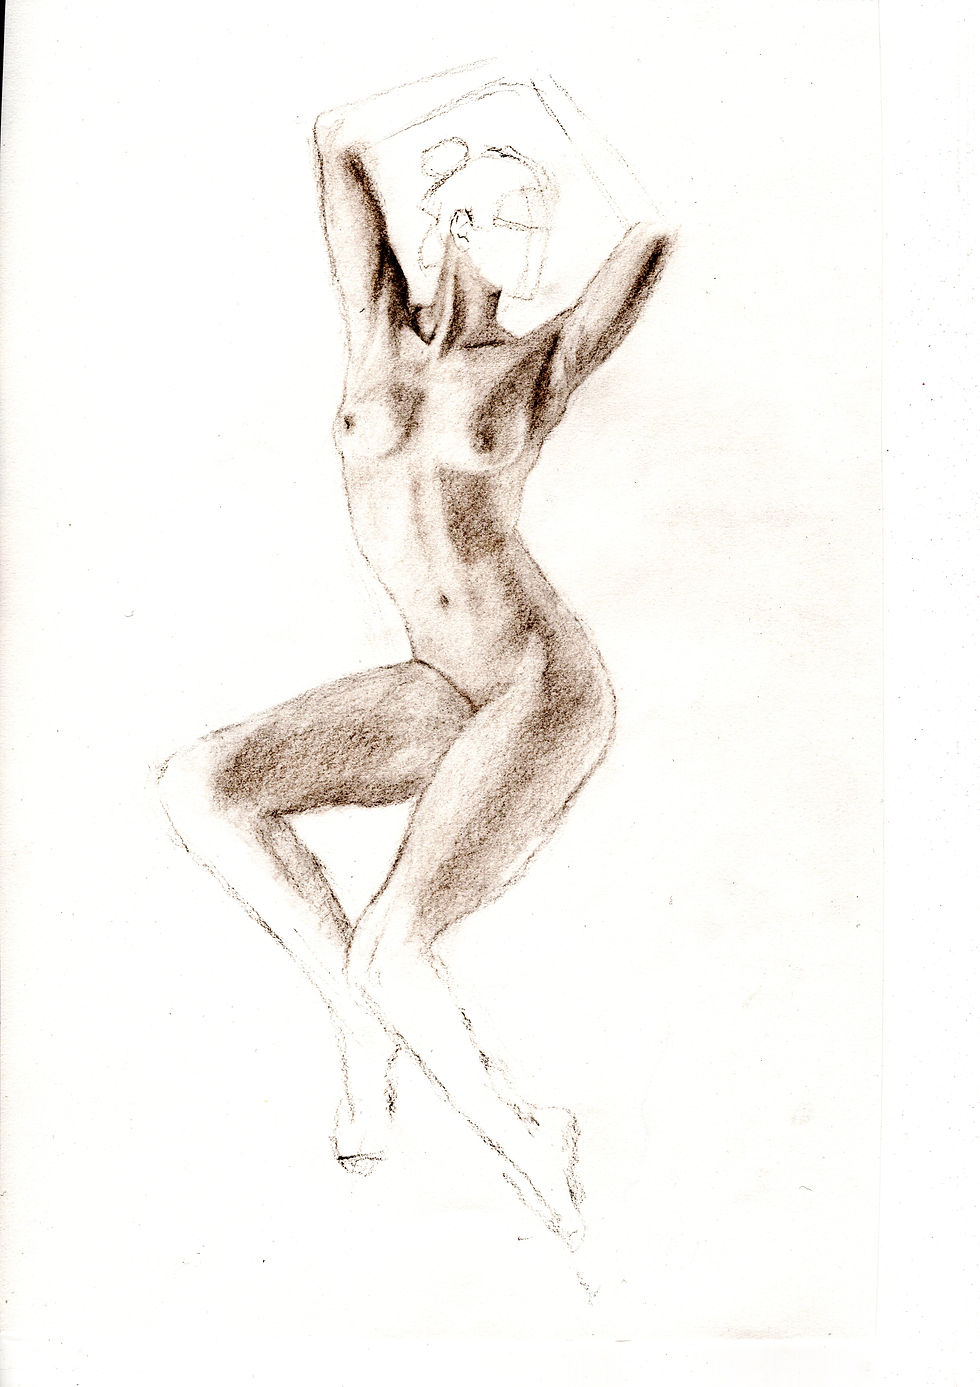
As you’ll see the first set I tackled where the female images. I stuck to my process of measuring and checking to try to ensure I maintained the proportions.

I feel that these images are some of the most successful short pose drawings I’ve done so far. There is weight and dimensionality present, not perfect by any stretch but they are going in the right direction. I’m particularly proud of the seated pose, I feel I’ve managed to capture a really distorted figure in an extreme pose without losing the sense of a real person.
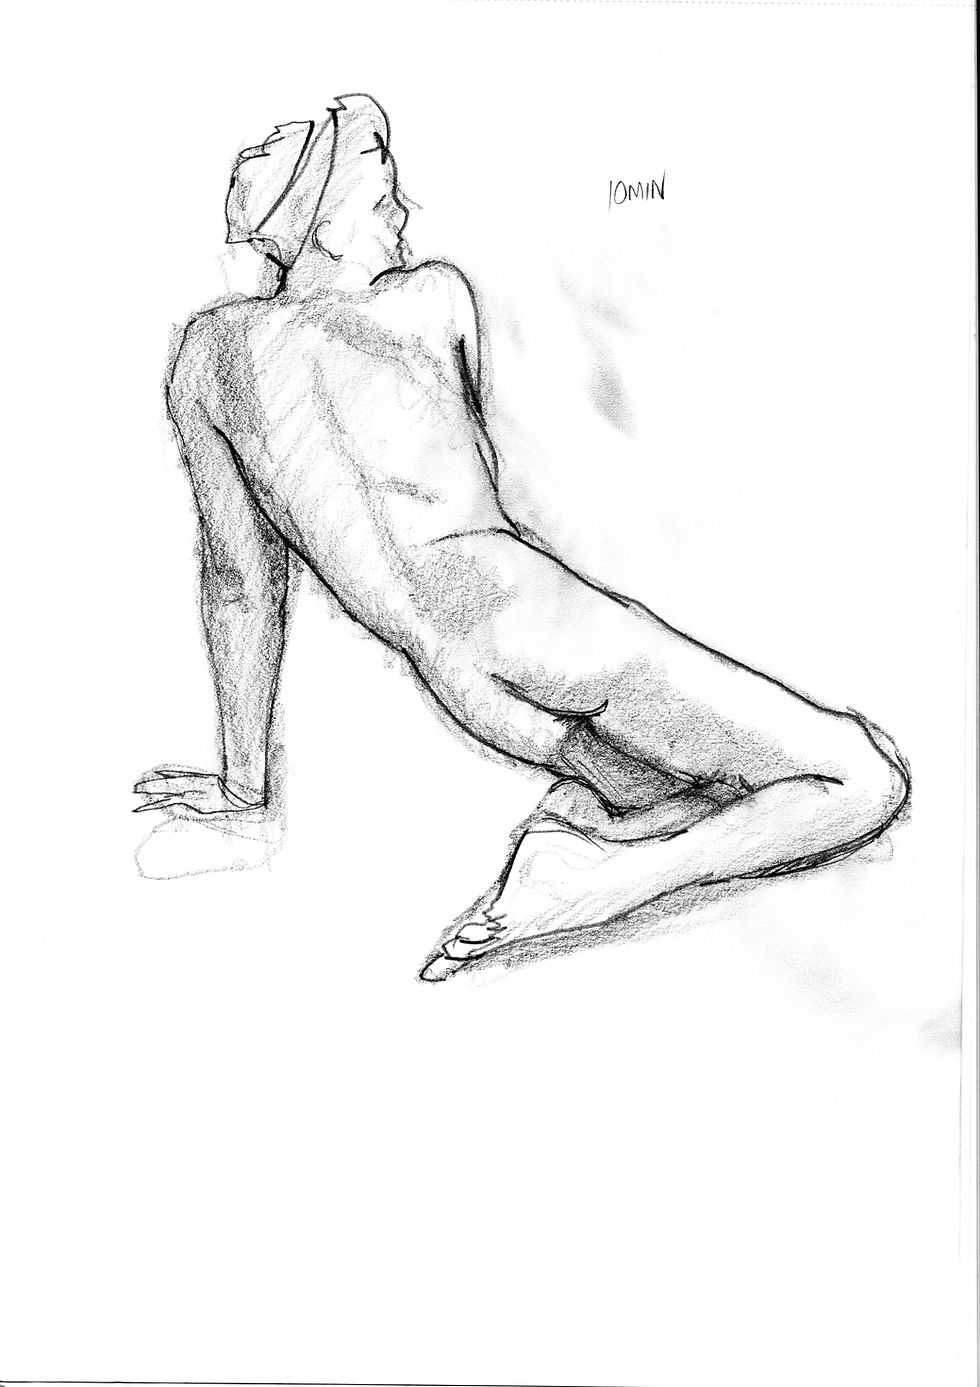
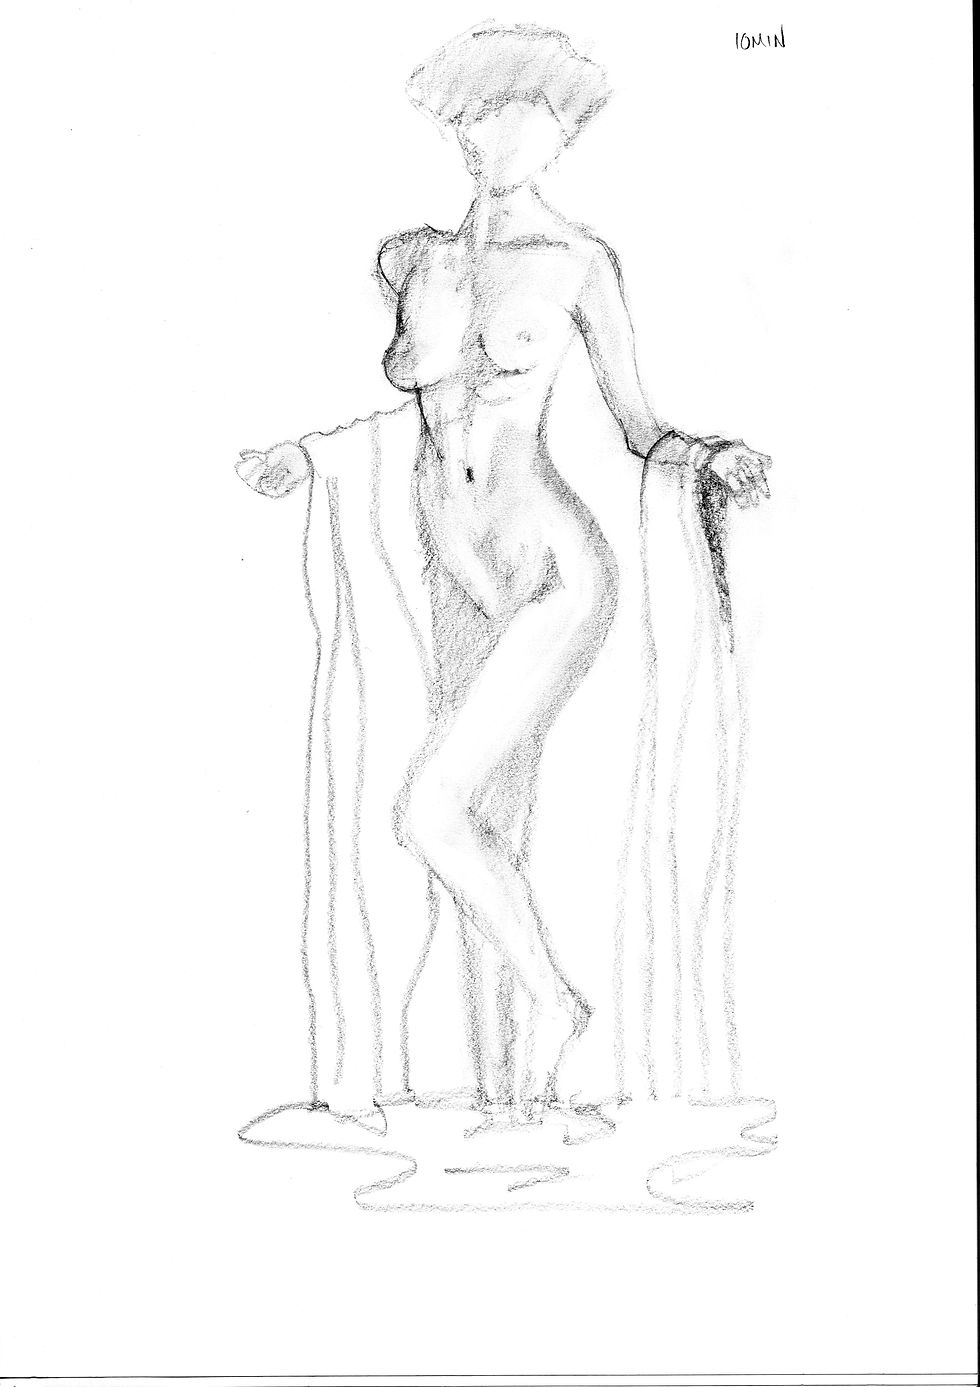
I remember doing these three drawing, now I look back at them I remember how low and uncreative I was feeling when I sat down to work. My mood wasn’t helped after doing the first of them, it’s really poor. It’s heavy handed, ill observed and doesn’t deserve to be seen by anyone. The weight distribution is laughably inaccurate and the complete lack of foreshortening makes everything look wrong. Nevertheless, I was at the drawing board and would persevere. To make my life a little easier the second pose I tackled was a little bit simpler. Things were looking up, this time I’d managed a passable person. Although a bit stiff feeling I’d been lost in its creation and feeling a bit better. Then I remembered I had recently bought a new pen, exciting times ahead. Of all six drawing, this last drawing is the most successful. It has a spontaneity that I find appealing; you can feel the centre of gravity really strongly.
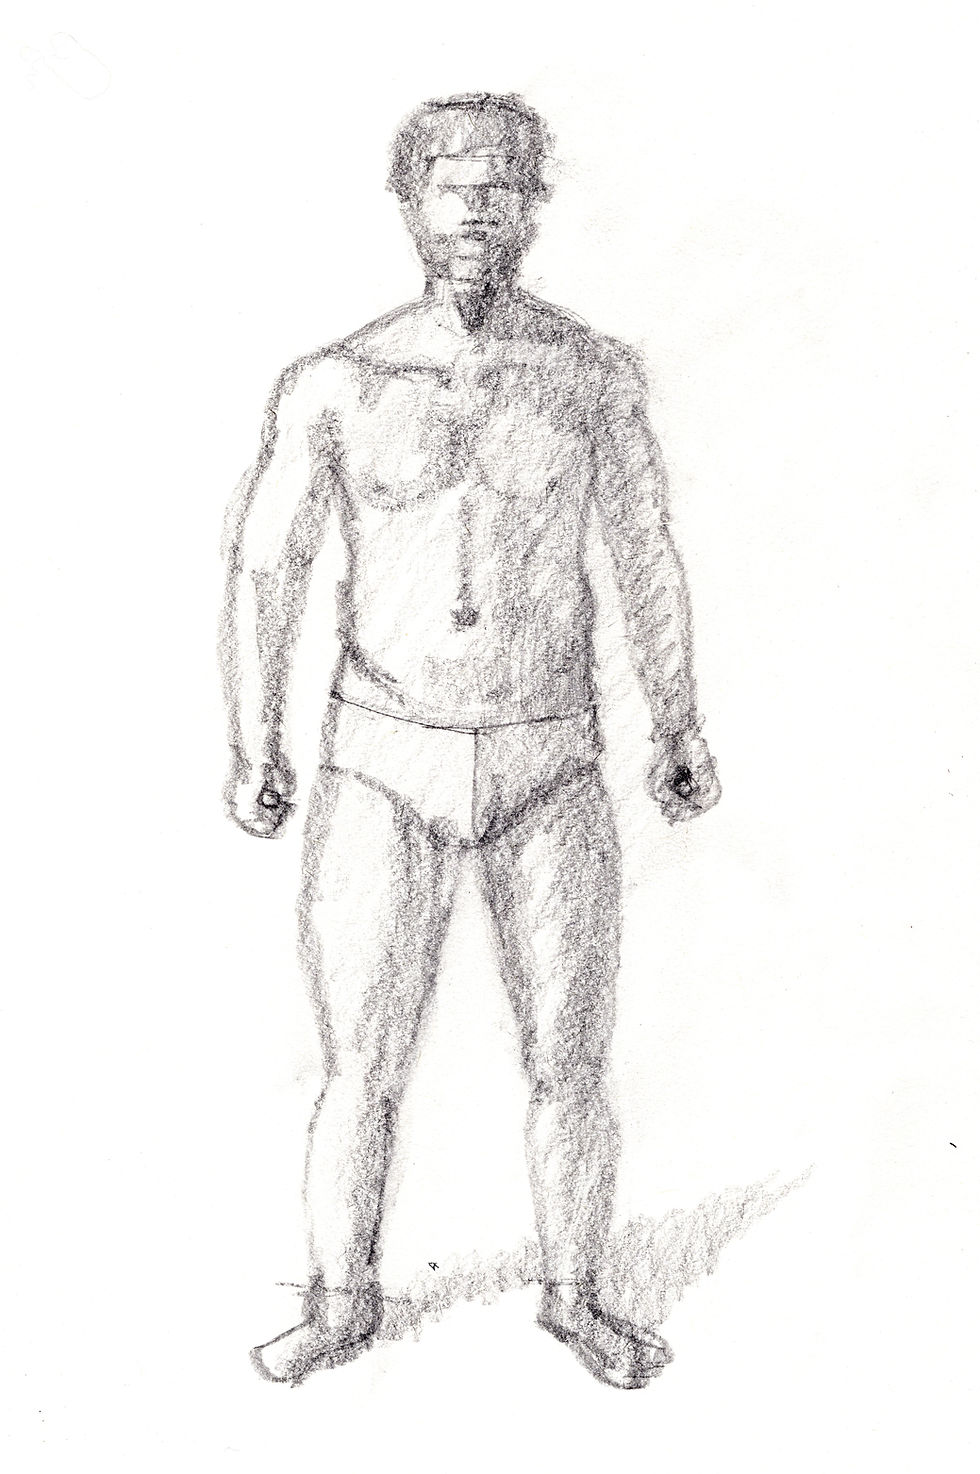
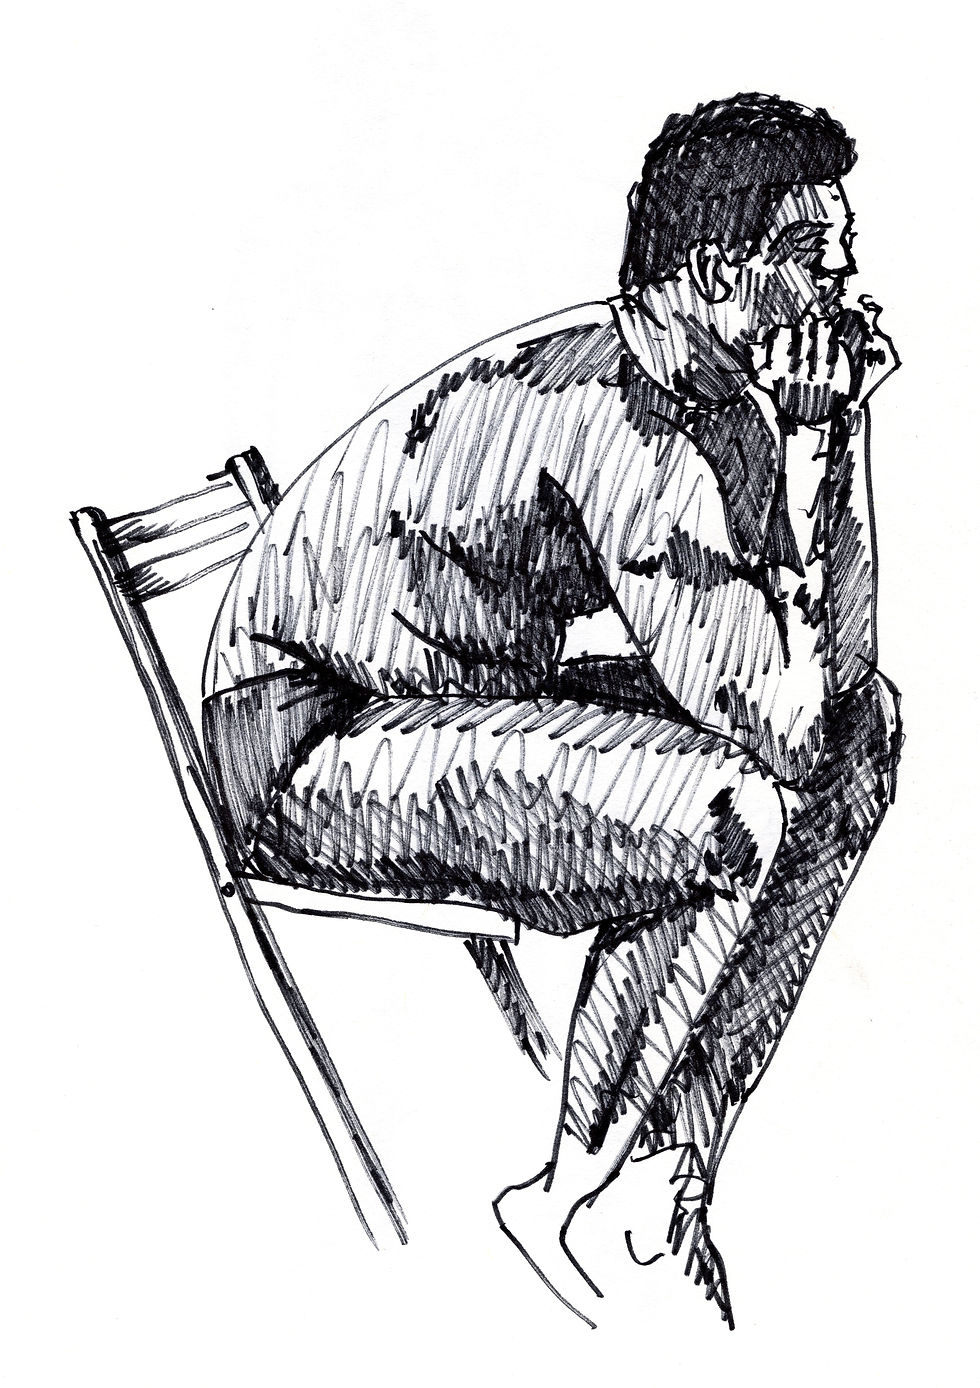
Exercise 3 - Stance
Trying to do this exercise without access to a real model really presented me with a challenge. Online life classes are great but they have their limitations, reference photos also have advantages and draw backs. Being limited to the view the camera person/photographer has selected, not being able to walk around a model and select poses that speaks to me feels so limiting. Maybe I’m just feeling a bit trapped (not surprising after 12 months of on again off again lockdown) but I just struggled to find reference that really spoke to me and as such the drawings for this exercise as short in number and quality.


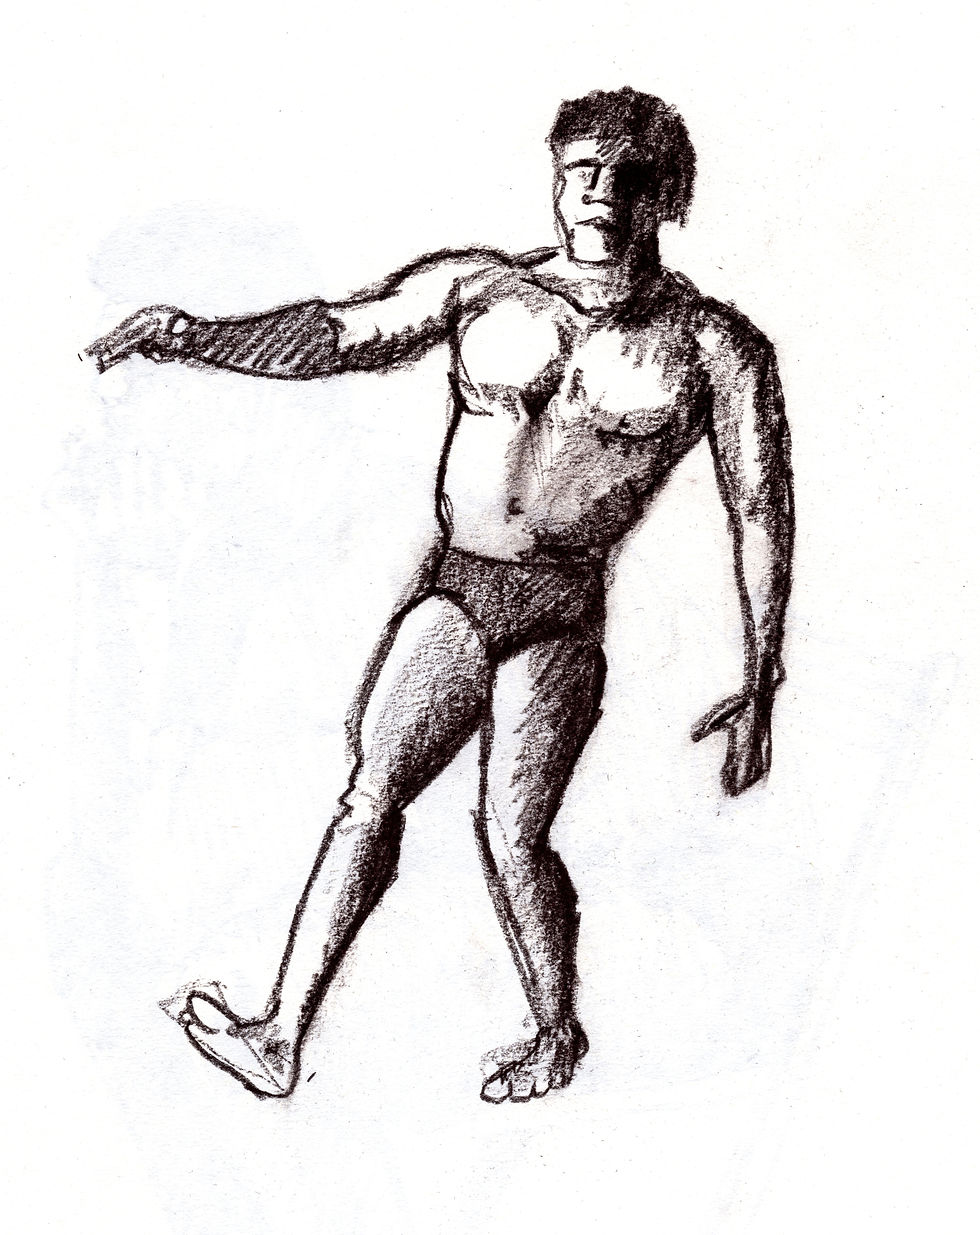
Of these the 2 seated drawing are better than the standing ones, they at least demonstrate some realistic weight distribution. I’m really beginning to understand just how much my mood and mentality impacts how creative I feel. I don’t like it when an exercise just feels like work, something that has to be done so I can move on.
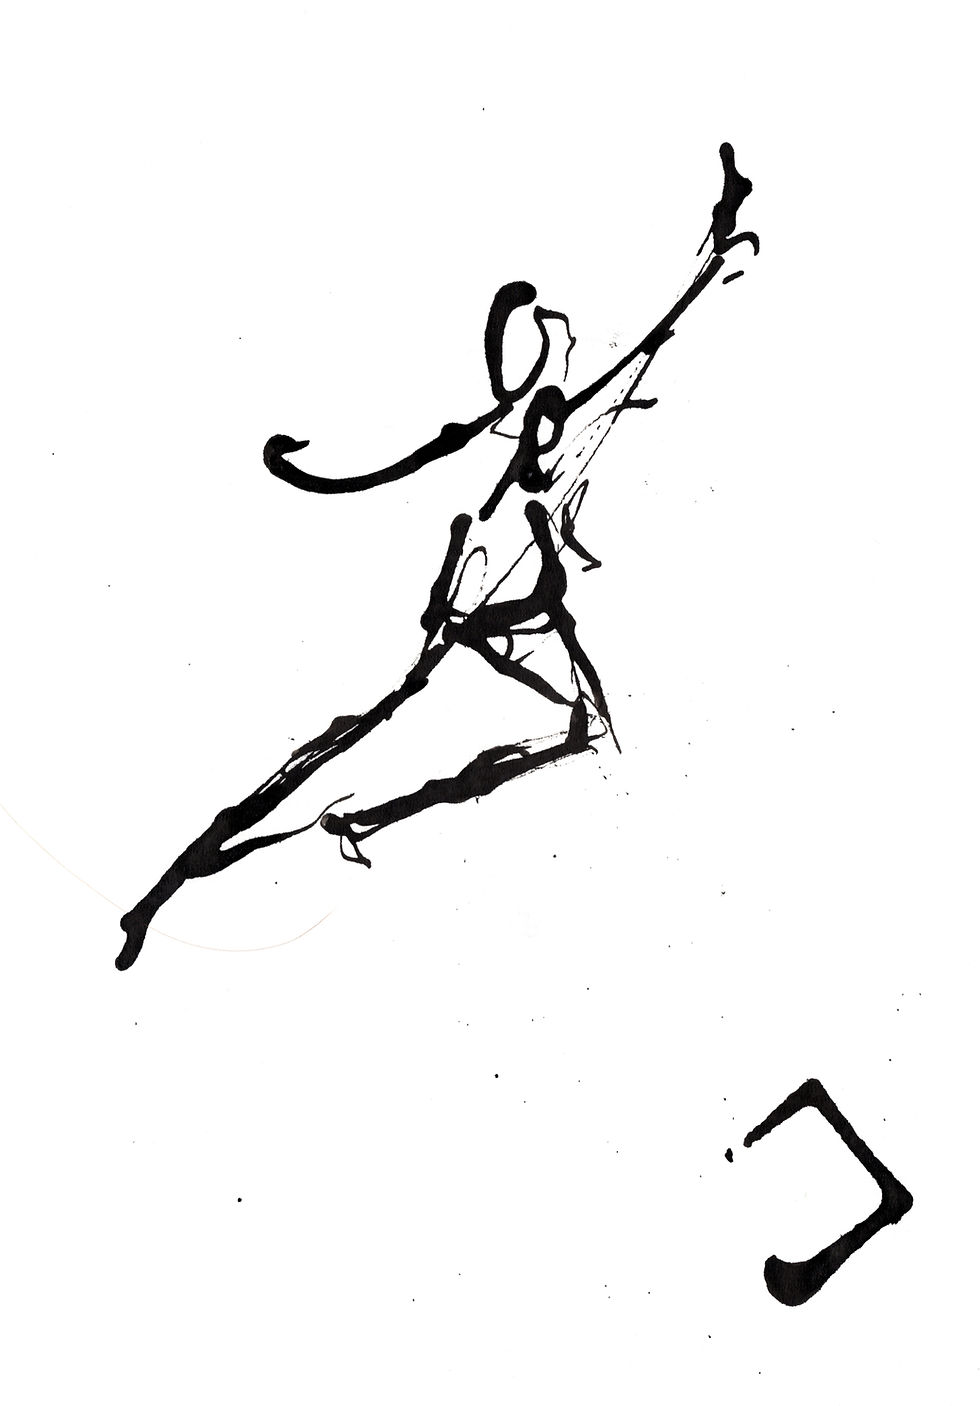
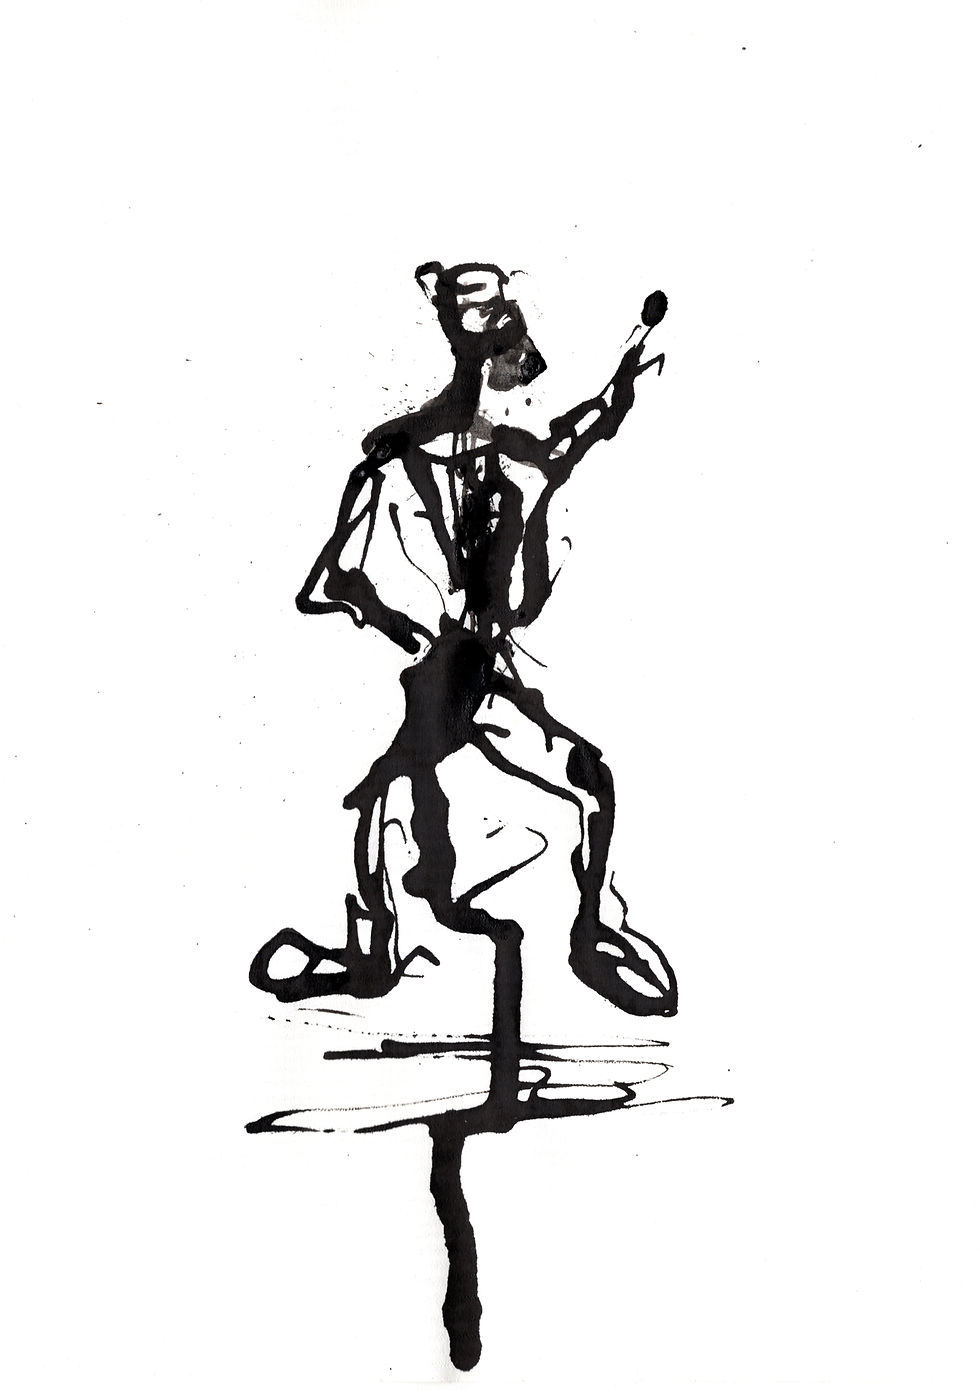
Exercise 4 - Energy
As reference for this exercise, I used the television, I didn’t have a model available so used what I had. I would flick from channel to channel looking for something dynamic that caught my attention. These first four where done with Indian ink and an eye dropper bottle. I charged the dropper and used it to create the mark directly on the page. Although I felt totally out of control, I enjoyed the way the ink seemed to have a mind of its own. It created interesting marks that I wouldn’t have been able to achieve any other way.


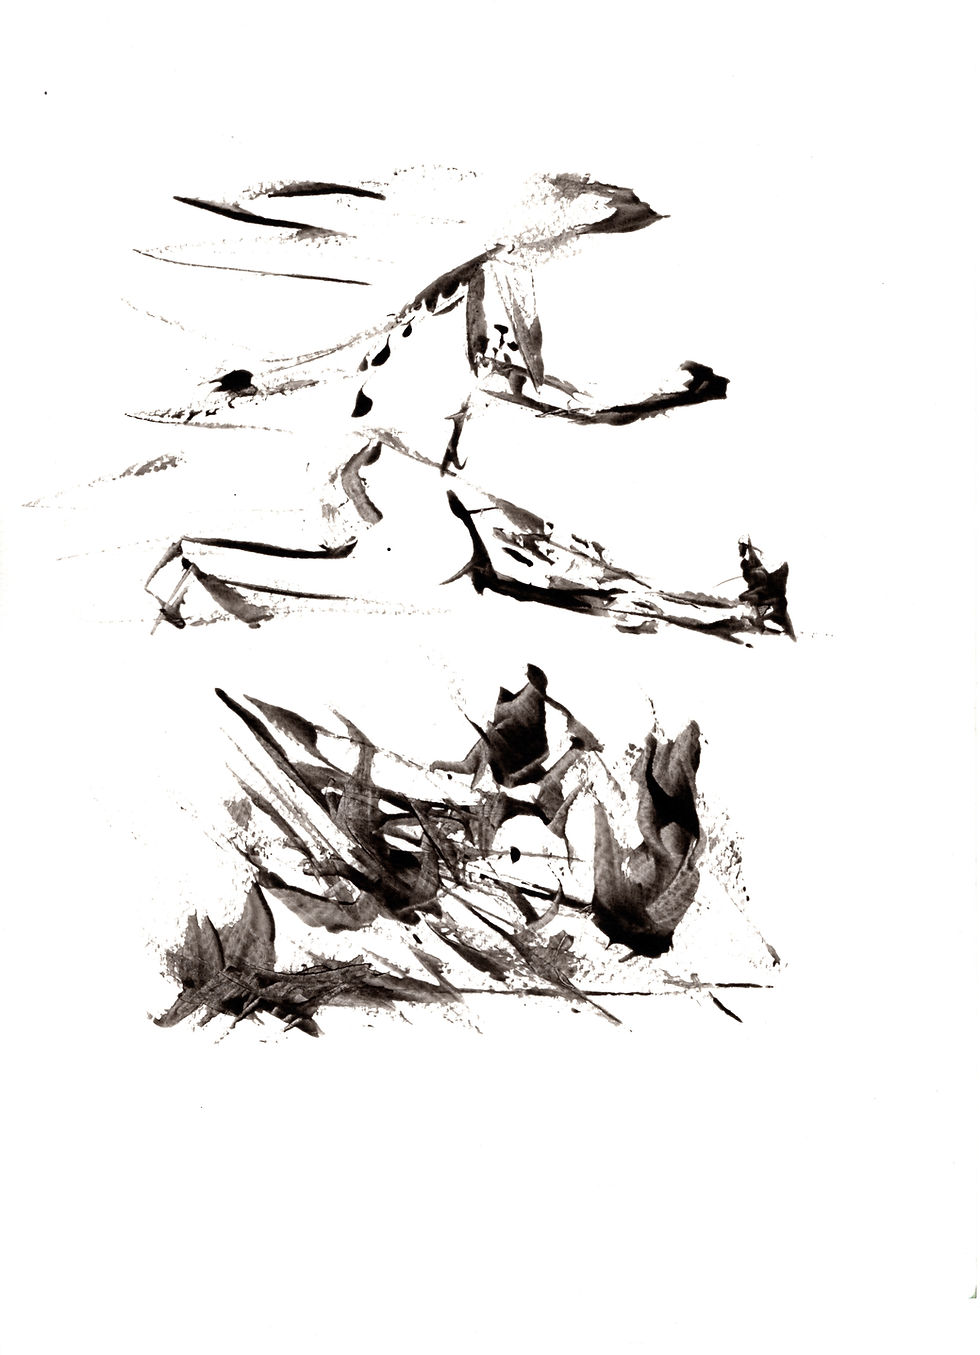
The next couple were done with a bamboo skewer and ink. I found this a lot more difficult and some much less fun than the dropper technique. I felt very limited with the mark I could make, that being said I think the images do have some interesting parts. Because I was limited to straight lines and very simple curves, it forced me to think differently while drawing.
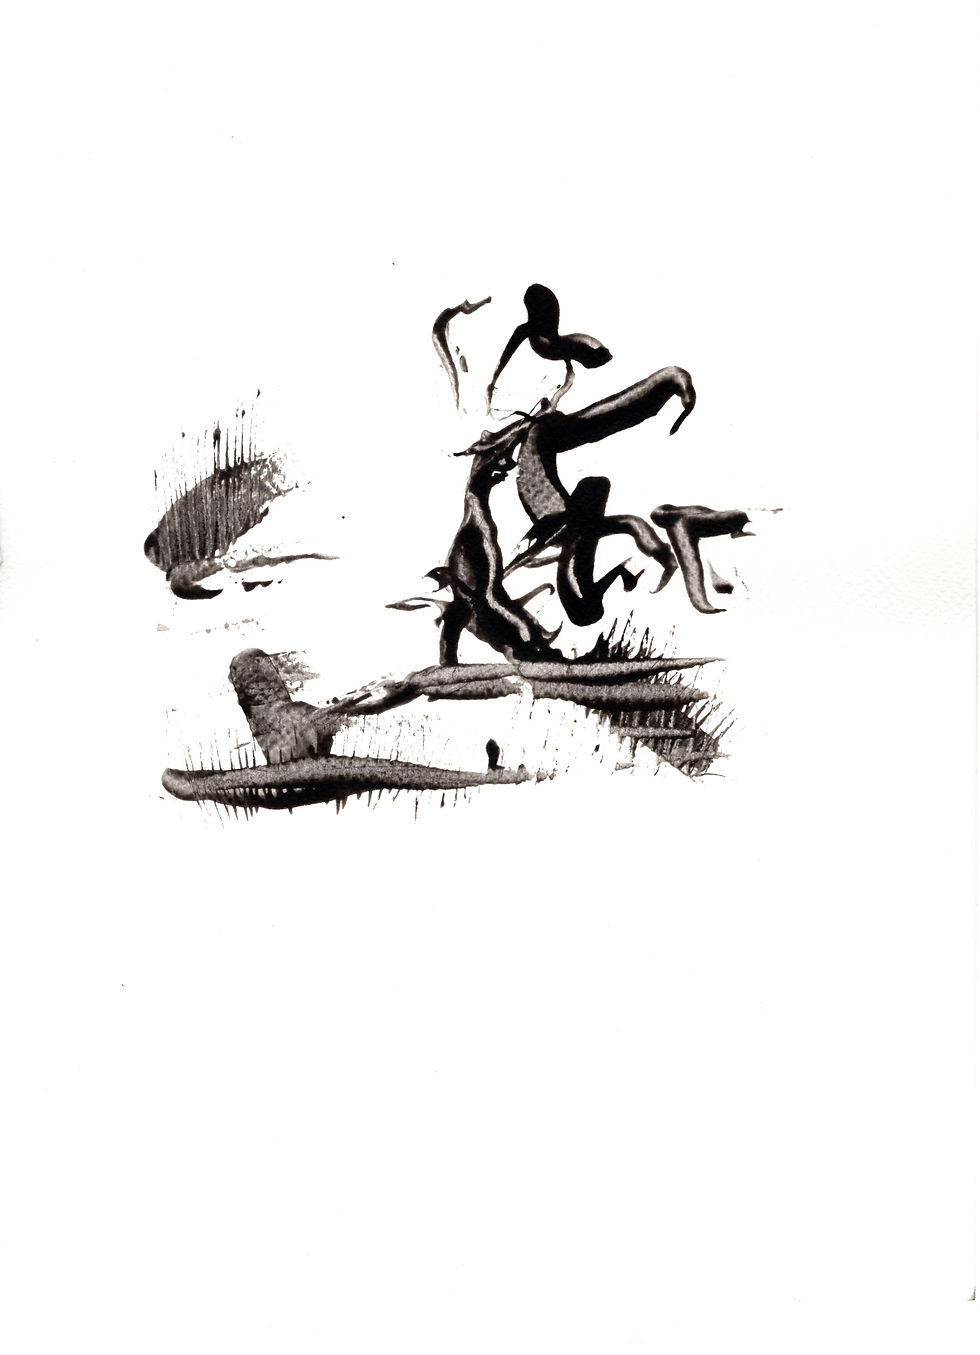
These final images were done with thin acrylic paint. I firstly applied the background marks with a tooth brush, mixing up the amount of paint and also the direction of the brush. I found that once a first layer had been applied, I could scratch additional mark with the but end of the brush. This created some interesting shapes and textures. Once these where dry I went back in to some with a brush pen, adding a few additional marks to help solidify the concept I was attempting to depict.
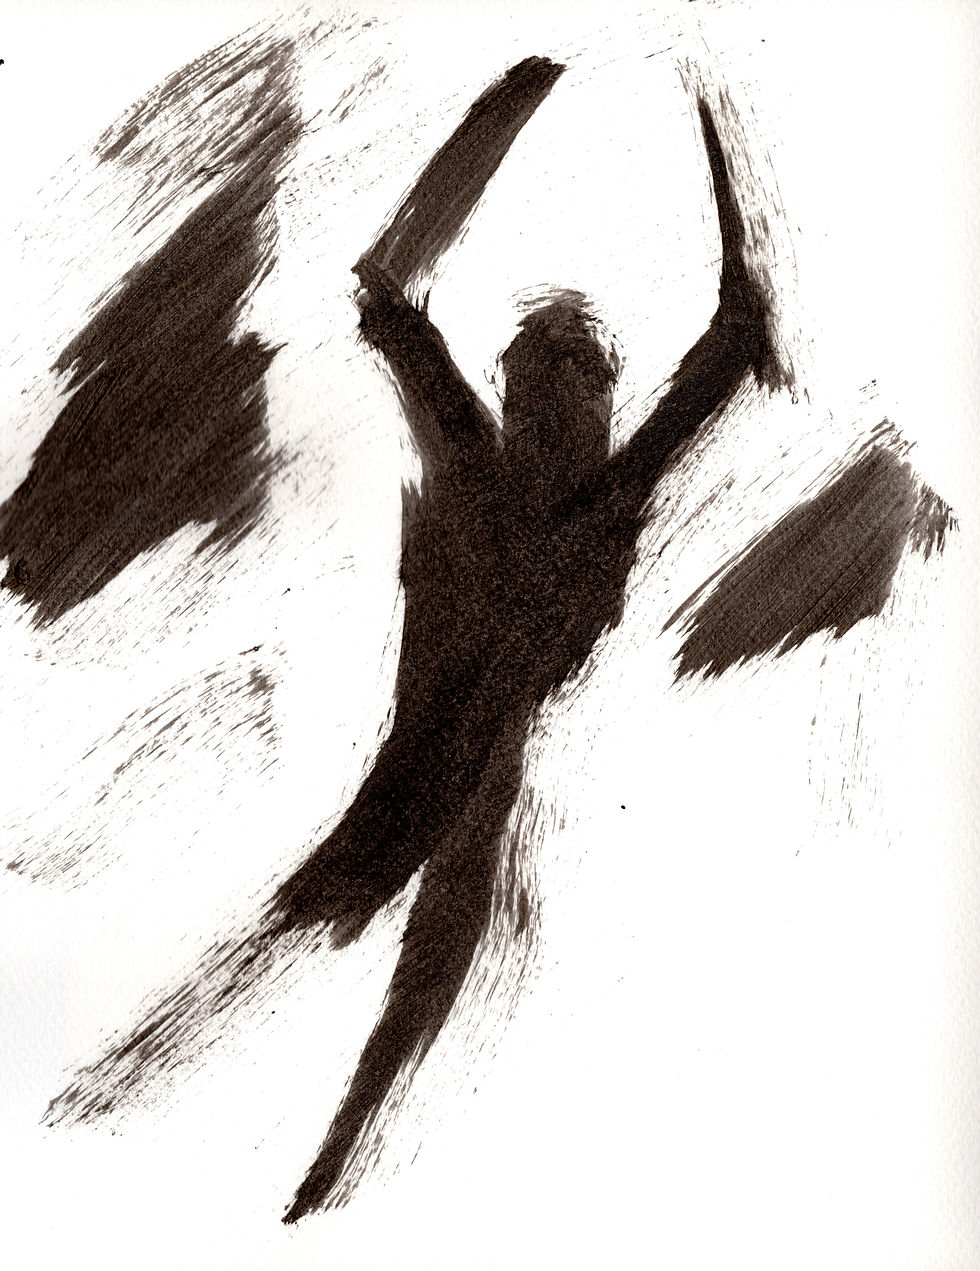
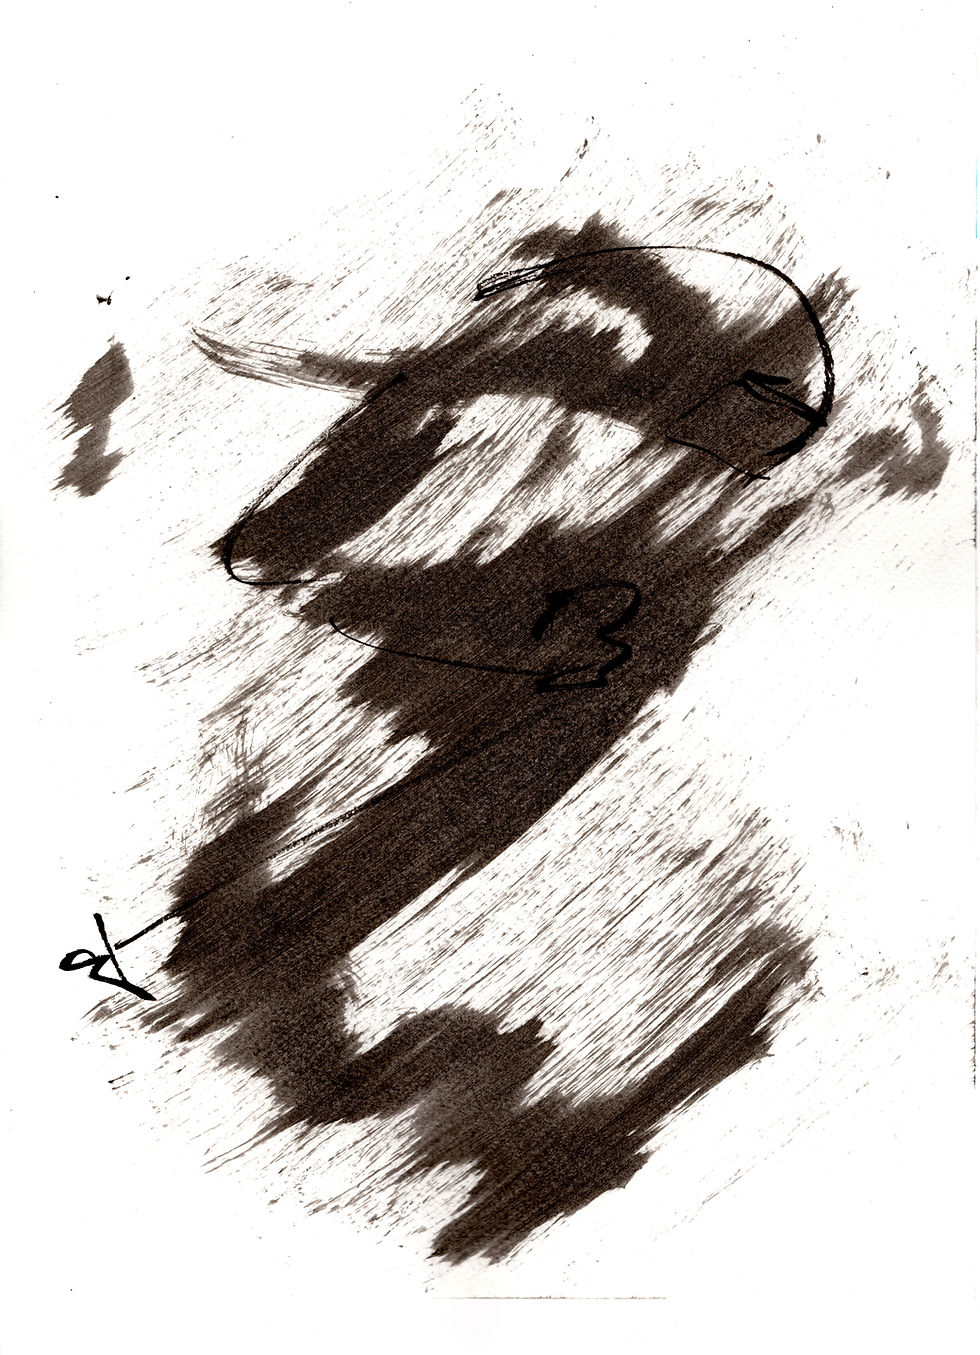


From this batch of drawings, I found the freedom of the ink and dropper the most interesting. I will definitely go back to this technique latter and try to find a better use for it.
コメント